Scratch-N-Stamp
Search

Checkout

Keep up with Sales, New Products and other events at Scrap `n Stamp. Sign up for our newsletter now!

What's New

Hot Deals


Wink of Stella

Simple Stamping – I’m a Puffer for You!

Hello friends!  It’s Chala here for today’s blog post.

Things have been crazy in my world and I got so wrapped up in life and trying to survive that I almost forgot my husband’s birthday!  (Bad wife, I know!)  But this made me realize that creating does not have to be super complicated!  Sometimes we are so enamoured with what others create and the techniques they use that we forget that there is nothing wrong with creating a simple card!  In fact, they are just as beautiful and for me….just finding time for crafting therapy through the chaos of my life is what is important.

So, I am here to share a super simple and quick card with you that received just as much praise from my sweet husband as some of the complicated cards I have created.

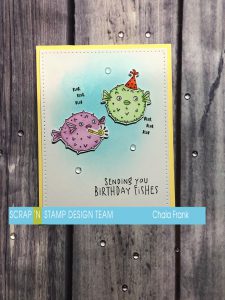
I will be using the Hero Arts “I’m a Puffer for You” stamp and die combo set.

I stamp some of the cute puffer fish images and party accessories with Memento Tuxedo Black  ink onto some white card stock.  I colour the images with my Copic markers and die cut them with the coordinating dies.
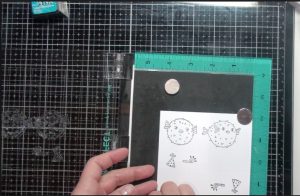
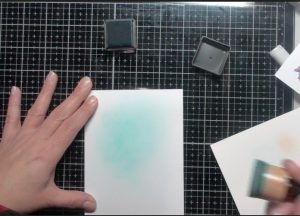
I then wanted to create a super simple ink blended background.  I wanted something that wouldn’t take the focus off the cute little images. To do this I used the Distress ink in Mermaid Lagoon and my ink blended brush and blended the ink onto the middle top portion of an A2 size card base.

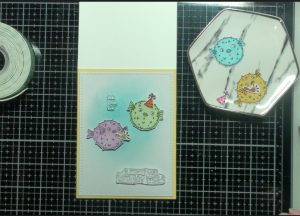
I cut an A2 size panel of yellow cardstock and adhered it to a top folding card with my adhesive tape runner. Then I die cut the ink blended panel with the Elizabeth Craft Designs Stitched Rectangle Die that is slightly smaller that the A2 size panel and adhered that onto of the yellow cardstock.

To  add a bit of interest and to give the background an underwater feel I spray it with some water and lift the water droplets up with my microfibre cloth.

I then lay out the images and sentiments that I wanted to use on the inked panel.  I use Versafine Onyx Black ink to stamp the sentiments.  I adhere the party accesories with some liquid adhesive  and pop the puffer fish images up with scotch 3M foam tape.

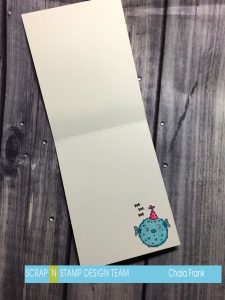
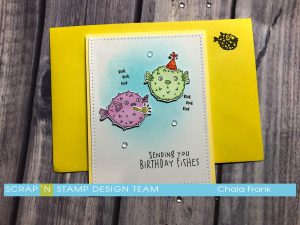
I also add one of the left over puffer die cut images onto the inside of the card and give all the puffer images a coating of clear Wink of Stella (because every card needs a bit of sparkle) and stamp one of the solid fish images onto the upper right hand corner of yellow envelope.

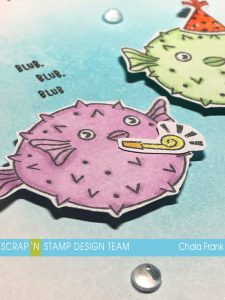
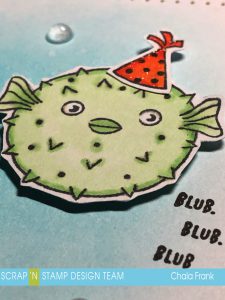
I felt like the card needed a little something special so I added these sparkling clear droplets.  You can also achieve this look by using Glossy Accents or Nuvo Crystal Glaze.  I didn’t have time to wait for those to dry so the sparkling clear droplets were perfect for this rush card!


Here are some photos of the completed card.


Thank you so much for dropping by for today’s blog post.  You can check out the video of how this card came together at my YouTube channel here:

https://youtu.be/6lt9_2ynXkk


Happy Crafting!

~ Chala

Simple Stamping – I’m a Puffer for You! Read More »

Orange You Sweet

Hey Guys!  Chala here for today’s blog post.  It has been pretty cold where I am and I thought I would brighten things up with some sights and smells of summer.

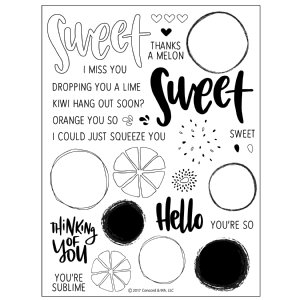
I will be using the Orange You Sweet set from Concord & 9th.

(As of the time of this post it is currently on sale for 30% off)

ccd-10214_1380_general

I am going to be giving this card a twist!  It will be a scratch and sniff card.  This is actually a pretty easy technique with some great results!

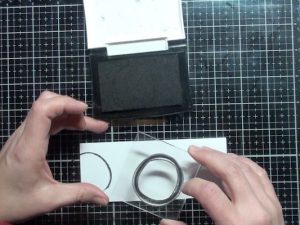
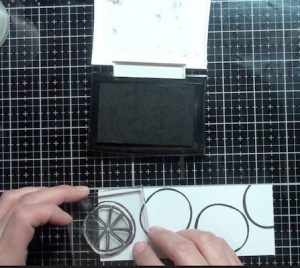
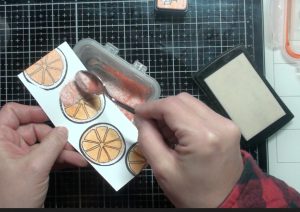
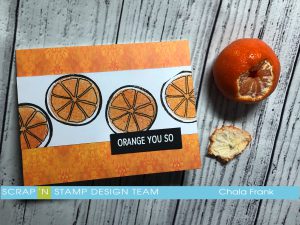
The first thing I will do is prepare a piece of white card stock which measures 2 1/4″ x 5 1/2″ and I stamp out the circle or outside of the orange image across the panel.  My go-to ink for stamping is  Versafine ink. I then stamp the segment portion of the oranges.

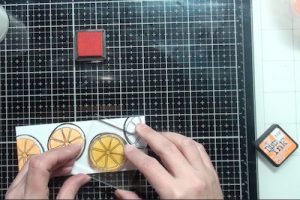
I then will stamp the solid circle overtop of the segments with Distress Oxide ink in Spiced Marmalade.

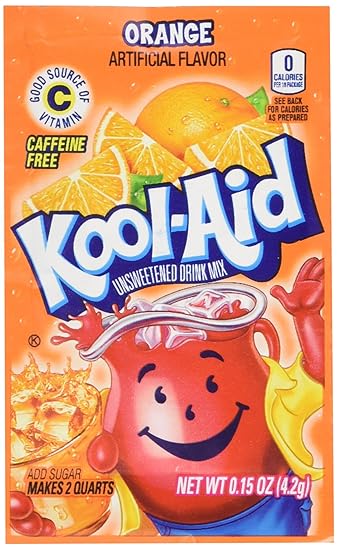
The next steps are where things get fun!  In a container I combine orange Kool-Aid with some clear embossing powder.  The ratio is approximately 1:1.  I will then use the solid circle again and stamp over top of the stamped spiced marmalade with Versamark clear embossing ink.  I then sprinkle the kool-aid/embossing powder mixture overtop of the reined image and then set it with my heat tool.  You want to make sure your heat tool is good and hot and be sure to keep moving it so as not to scorch the kool-aid.

Image result for orange kool aid

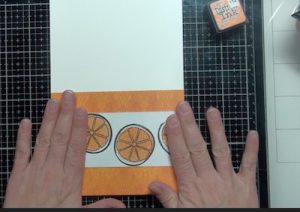
I set that aside to cool.  The next step is to prepare my card base.  It is a standard A2 (5 1/2″ x 4 1/4″) side folding card.  I cut down a panel from some patterned paper and adhere that to the card base and then adhere the orange stamped panel on top.

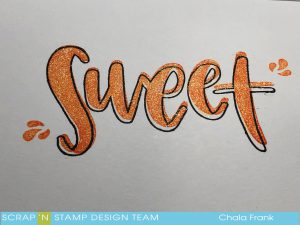
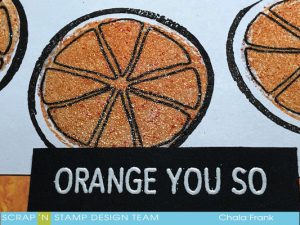
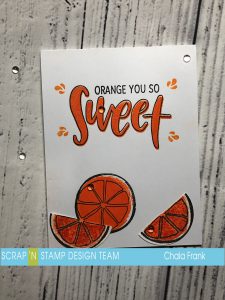
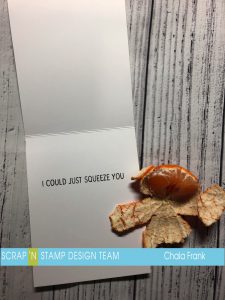
For the sentiment I use some black card stock and treat it with my antistatic powder tool.  I chose the “orange you so” sentiment and stamped it with  Versamark clear embossing ink, apply white embossing powder and heat set.  I will trim the sentiment strip down and apply 3m Foam tape to the back.  Before I adhere the sentiment strip to the front I want to finish off the inside of the card.  I use my stamp platform stamped the outline of the “Sweet” with Versafine ink and the solid “Sweet” with Spiced Marmalade.  To give the inside sentiment a bit more interest I add some clear Wink of Stella to give it some sparkle.

I was a little off with the stamping of the Spiced Marmalade, but I am okay with that.  I also stamped the little splashes in the same orange colour.

I then move back to the front of the card to add the sentiment strip.

That completes the card!  Here is the finished look.

Here’s a look at a second card I created with the same stamp set.


Thank you so much for stopping by today!  If you would like a better idea of how this card came together, you can head on over to my YouTube channel and watch the video.

https://www.youtube.com/watch?v=__zq7DlZzPs

Stay warm and happy crafting!

~Chala

Orange You Sweet Read More »

Free Shipping Anywhere In Canada