Colour Burst -Fabulous Feather
Hello Crafty Friends. Happy Sunday. Nancy F here, and man it seems like it has been forever since I have been on the blog. Lots of craziness, which has left little crafty mojo. But I am back and I am continuing with the monthly theme of all things watercolour.
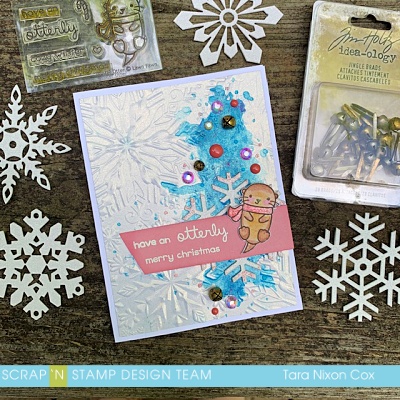
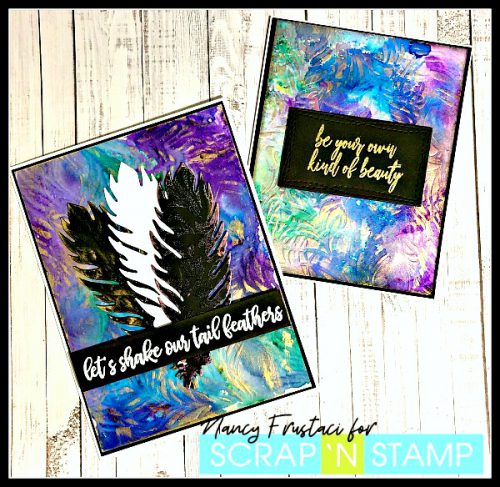
I have two new cards featuring alot of the same products I used for the blog hop, but twisting it up in a fun way to use your stencils and die cut machine. Then adding a new die or two and some opal polish from my stash to snazzy it all up. I hope you enjoy and find some inspiration.
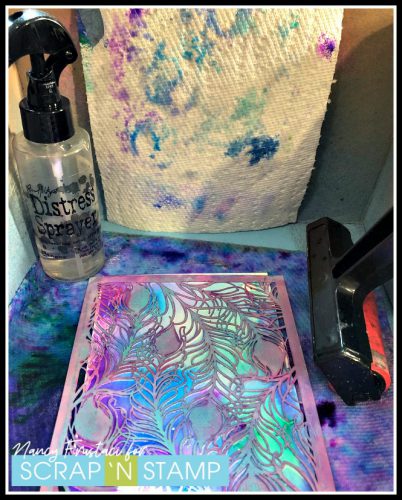
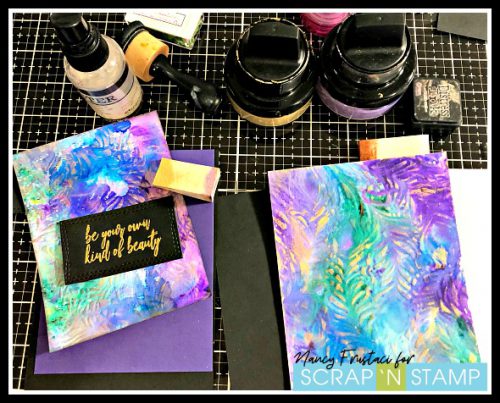
As I mentioned in my blog post for the hop, I created so many backgrounds, using the beautiful colour bursts that I really wanted to find a way to use them up. In the above picture, you can see part of the process.
I started off with watercolour paper, placed the stencil down and added the colour burst powders right on top and sprayed with water using my distress mister. I decided to add another card on top as to not waste any of the ink and see what kind of image I would get. I loved how it turned out so much I made a few more versions of it.
Since I had so many backgrounds I decided to play around with a technique I had never tried before, using your stencils to emboss. Yup you heard me right. Many probably knew this and have tried it but I have not, and wasn’t really sure how it would work out. I was pleasantly surprised by how well it worked. To get started I pulled out my long platform (this is what came with my big shot) the tan embossing mats, my metal shim, the plastic plates and of course a good old stencil. For this I used the peacock feather from Hero Arts.
I set up my platform on tab two then added the plastic plate, the tan embossing matt, the inked background, then the stencil and metal shim along with the second plastic plate, (I did another version of this technique using a die-cut and I can not remember which I had to use a paper shim with. If you try this you may need to do that) and ran it through. I was pleasantly surprised at how well this turned out.
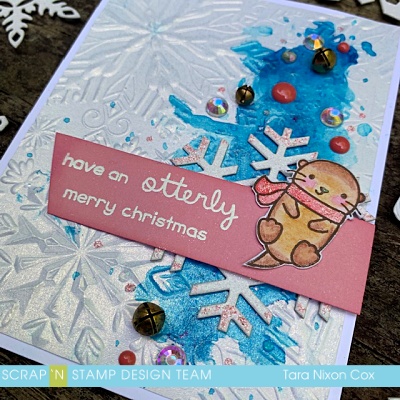
Along with numerous backgrounds from my previous play session, I also had numerous sentiments that I had gone and stamped out from the Picket fence studio “Shake our Tailfeather” set. I heat embossed these with gold and white embossing powder. I guess I’ve gotten in the habit of making bulk cards and always needing to make sure I have extra of things, just in case it goes sideways. I die cut the gold using the wonky stitched dies from My Favorite Things. while I was at my machine I die cut several feathers from black and white heavy cardstock, and some fancy foil friendly paper I had in my stash.
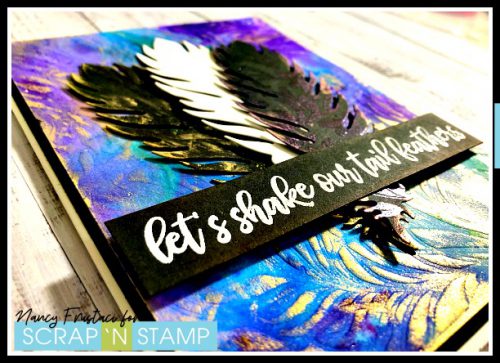
Once I was finished all the die cutting and embossing it was time to add some shine and interest to the cards. I used some shimmer opals from my stash to lightly brush up on the embossing. I loved how this turned out, it really made the colours and the feather details stand out more. Once the opals were dry I went over it with some black soot. Thanks to a dear friend of mine I am completely stuck on the black soot. It’s like Franks Red Hot sauces, “I put that shh” on everything, lol
As for those beautiful feathers, I didn’t do too much. One of them was special foil friendly paper, so I decided to give it a try and ran it through my laminator with purple foil. I can’t say I am all that impressed with this but it does add a little flare. I decided the feathers needed an extra little something so I took the opals and went around them slightly just to bring out some of the detail.
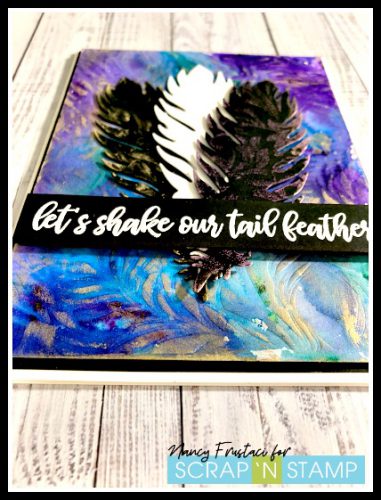
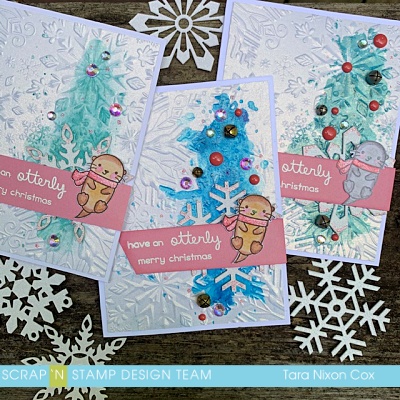
It was time to finally assemble the cards. Both were varying sizes because 1, I started with different size panels when I did the inking and 2, I couldn’t bear to cut any of the panels down and waste any of these beauties. So the largest is this feather card measuring at 6 1/2 x 4 3/4 and the smaller is a standard A2 5 1/2 x 4 1/4. I kept it simple just layering the two onto black panels and white bases. I was very happy with how they turned out.
Lastly, I decided to pop the inked panels up on to the black card stock for some dimension, I also popped up some of the feathers and sentiment just for a little something extra.
I hope you found some inspiration and try using your stencils for embossing. It was a lot of fun and something I will deffenitly do once more.
Have a lovely week ahead and I hope you have time to get your craft on.
Nancy.
Colour Burst -Fabulous Feather Read More »