One Layer Winter Card with Concord & 9th
Hi Everyone!
I hope you are all well and staying safe in these trying times. Those of you dealing with kids back in school I wish you all the best for whatever situation you are faced with.
I have a one layer card for you today. These haven’t always been easy for me to do and sometimes I still struggle with them but today’s card came together pretty easy.
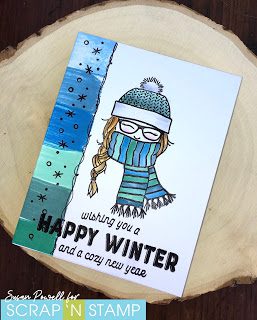
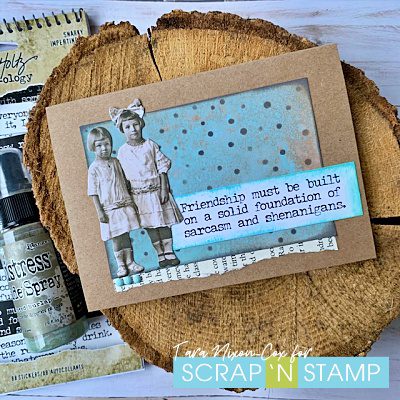
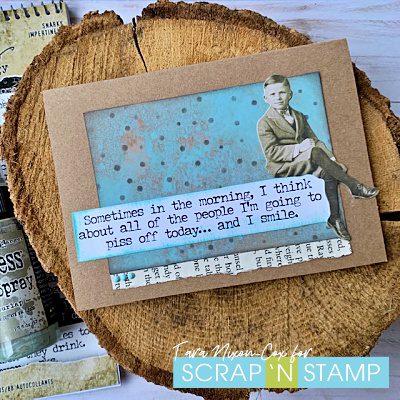
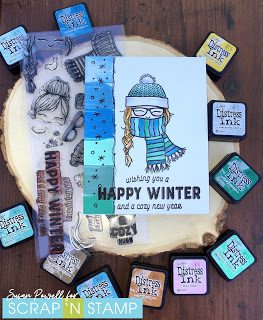
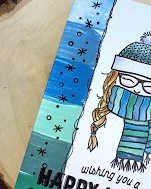
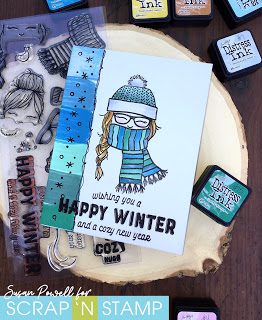
I started with stamping the image a little off to the right making sure to leave enough space on the left for my ‘patterned paper.’ I used the distress oxide minis to create my paper. I chose 6 colors – 3 blues and 3 greens – and pressed the cube onto the paper and dragged it off the edge. Once I filled up the side I stamped the little images on top.
Next I grabbed a blender pen and coloured in the image with the same colors in the ‘paper’ and a few more.
I chose to use a bigger sentiment because it balances well with the larger image on my card and to help ground the image.
A few tips for one layer cards:
– use one larger image
– if using smaller images cluster them together
– keep the colors simple (I did use quite a few but they were all shades of each other so that helps to keep it simple)
– larger sentiments work well with large images
– smaller sentiments work well with smaller images.
I hope this tips make sense and help you if you struggle with one layer cards.
Happy Stampin’
and thanks so much for visiting!
Stay safe everyone!!
Susan
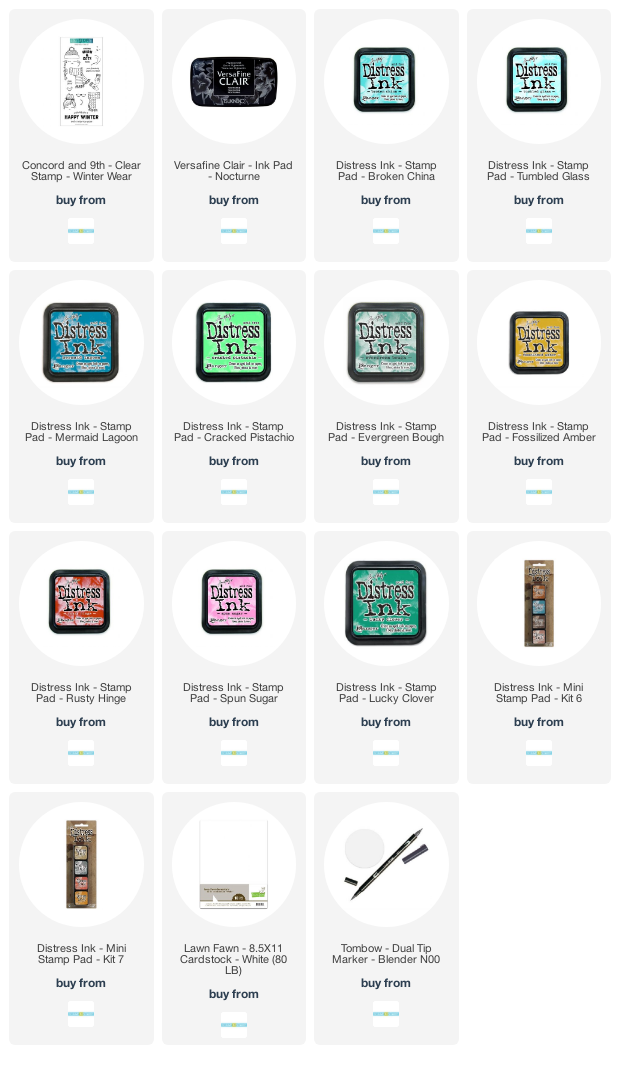
Shopping list:
Below are links to all the goodies I used, just click on the icon to be taken to where you can purchase the product.
If you use my affiliate links when shopping there is no additional cost to you, I want to say thank you and that I appreciate it and you very much.
One Layer Winter Card with Concord & 9th Read More »