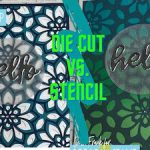
One Stencil, Two Cards
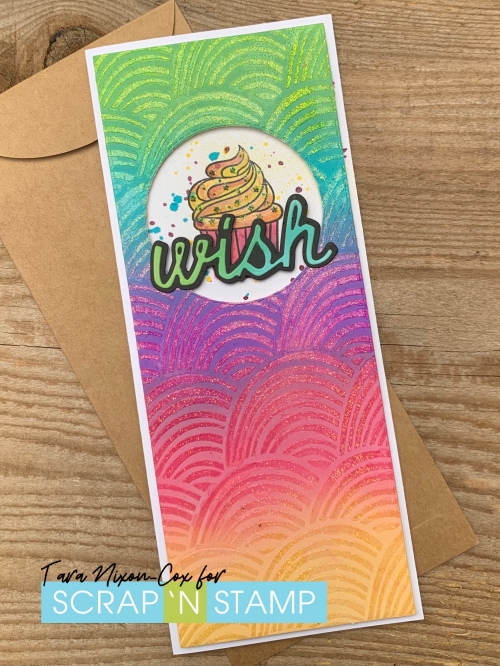
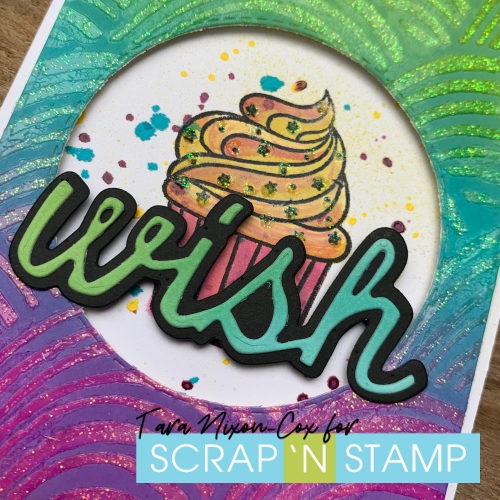
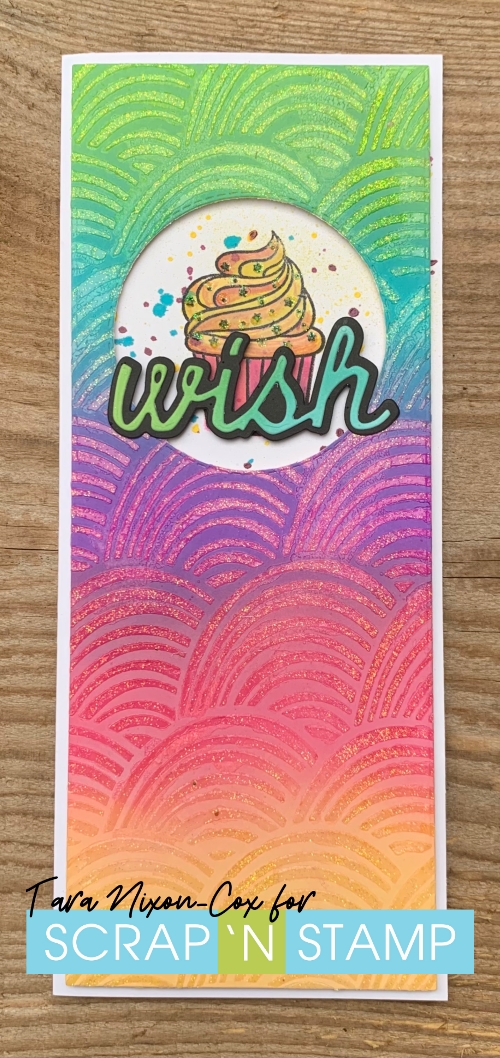
It’s Lindsey back today with you, with two birthday cards featuring one Picket Fence Studios stencil – Waffle Squares. I have to admit, this stencil stumped me a bit when I first tried to use it… despite the name, it’s a circular stencil that doesn’t fill the entire card. As I learned more about ways to use stencils, though, I decided there were lots of ways to use it! Here’s my first example:
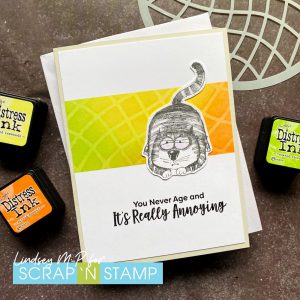
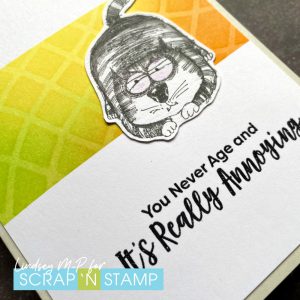
To start, I masked off the top and bottom of my card with some masking paper, then lightly ink blended a mix of three distress inks. Then I put the stencil over top and ink blended the same three colours, resulting in a tone on tone background. I couldn’t resist using my Snarky Cats again, and thought this one paired perfectly with the sassy sentiment from My Favorite Things.
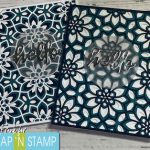
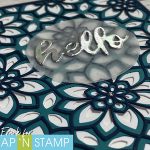
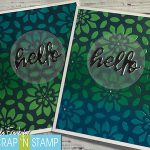
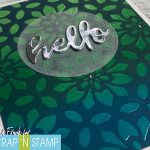
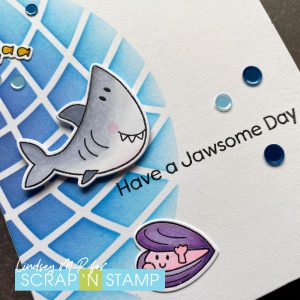
For my second card, I used the stencil in a more traditional way:

Another thing I learned as I used stencils more on my cards: mask everything! 😀 If I hadn’t masked all around the edge of this stencil, there would definitely be a smudge somewhere. I added my sea critters, an embossed sentiment, and some bling from my stash for another fun and bright card.
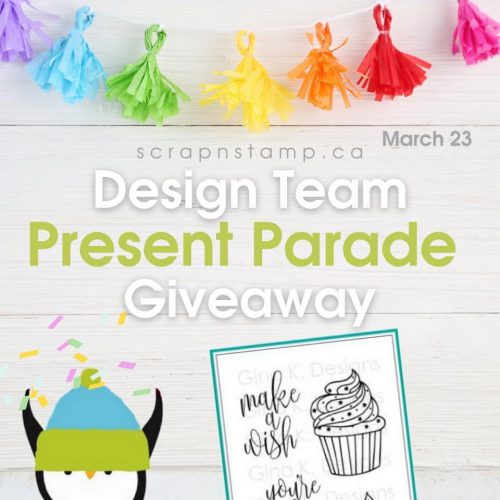
Don’t forget you still have a few days to comment here and on Scrap ‘N Stamp’s design team blogs for a chance to win some Birthday Bash prizes! Thanks for checking in today, and I hope I’ve inspired you to have some stencil fun!
Supply list:
Picket Fence Studios Waffle Squares
Tim Holtz Snarky Cat
My Favorite Things Sassy Pants Birthday Greetings 2
My Favorite Things Beach Buds
Distress Inks: Squeezed Lemonade, Carved Pumpkin, Twisted Citron, Tumbled Glass, Salty Ocean, Blueprint Sketch, Chipped Sapphire
Versafine onyx black ink
Copic markers
Neenah Classic Crest Solar white cardstock
Wow clear gloss embossing powder
One Stencil, Two Cards Read More »