HAVING FUN WITH ZIGS
Hi Everyone!
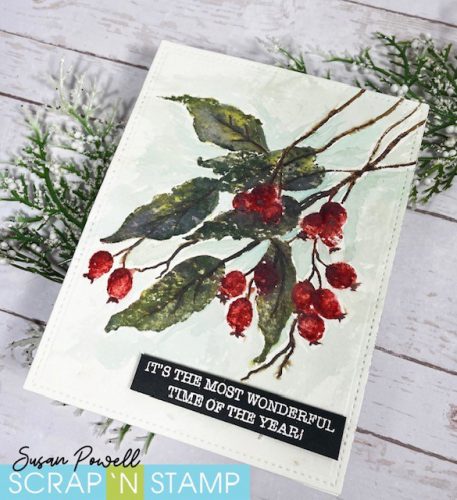
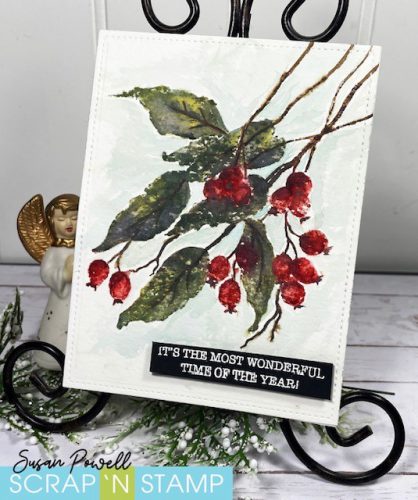
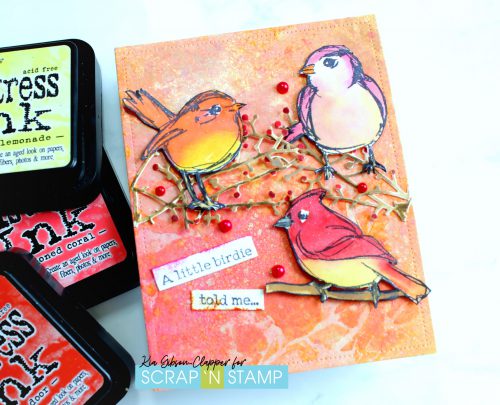
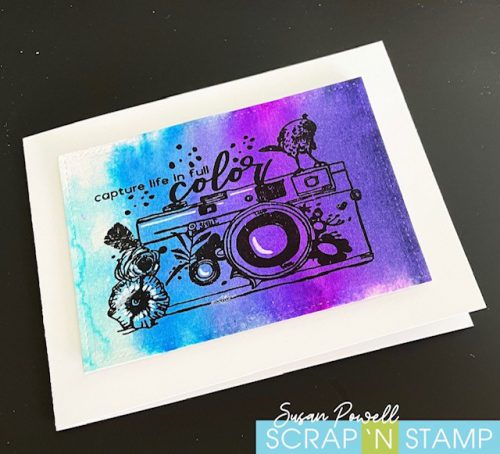
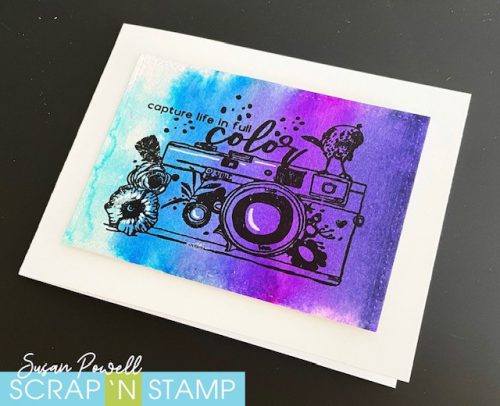
It’s Susan and I’m playing with Zig Clean Color Real Brush Markers today for the Random Acts of Cardness Challenge. I have two cards to share with you. the first one literally took just minutes to make.
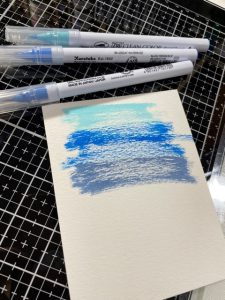
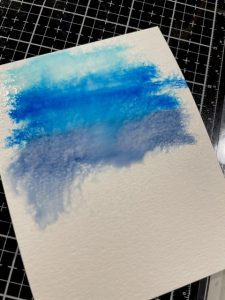
I started with 3 different blue markers. I scribbled them onto a piece of Ranger watercolor card stock (first pic below) then sprayed it with some water (second pic). Next I used my heat tool to dry it. I continued with three purple markers, sprayed on some water then dried it with my heat tool. Next I scribbled a dark blue marker at the top, spritz it with more water then used a brush to blend it over the whole panel to darken it up.
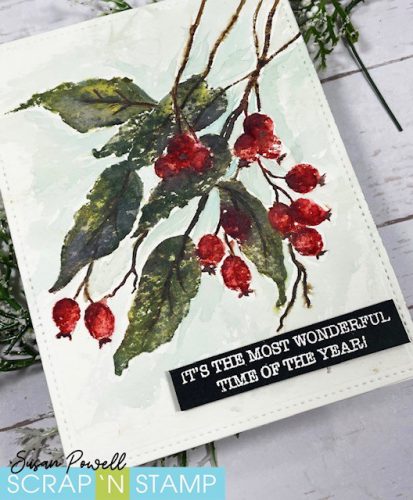
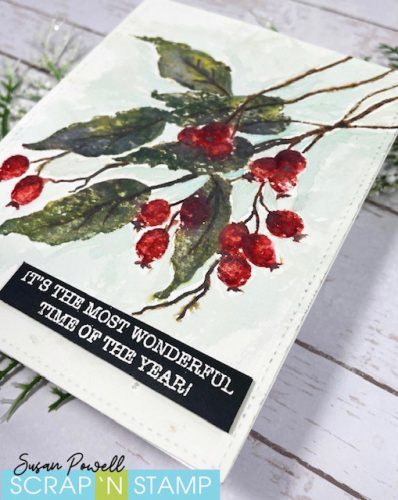
To finish the card I stamped the Picket Fence Capture Life in Color stamp with Versafine Nocturne ink. Because watercolor paper isn’t smooth I used my MISTI and stamped the image 3 or 4 times to get good coverage. I die cut the panel with the second large die in Lawn Fawns Stitched Rectangle Die set and added it to the card base with craft foam. I used a white Posca Paint Pen to add a few highlights.
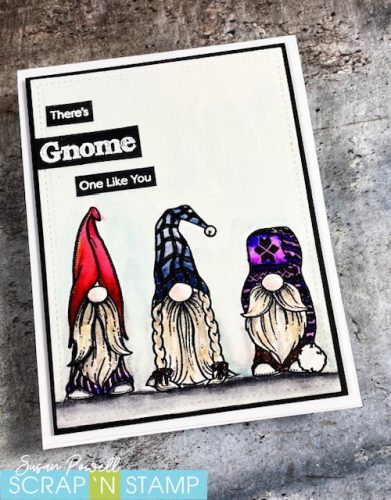
The next card took a little longer to make. I stamped the three gnomes from Spellbinders Holiday Gnomes Stamp Set with Versafine Nocturne ink. I used my MISTI, stamped it a few times to get a solid image. I left the stamp in the MISTI so I could stamp it again after I finished coloring. This next picture shows how I did the coloring. I chose two colors for the hat, added the darker one into the bottom corners and part way up and then a lighter color. You can see the two colors on the right side of the hat. Next I took a wet paint brush and pulled the two colors together and blended them further up the hat. I hope that makes sense.
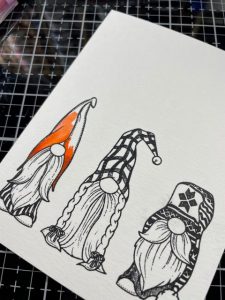
I continued coloring all three gnomes using the technique I just described.
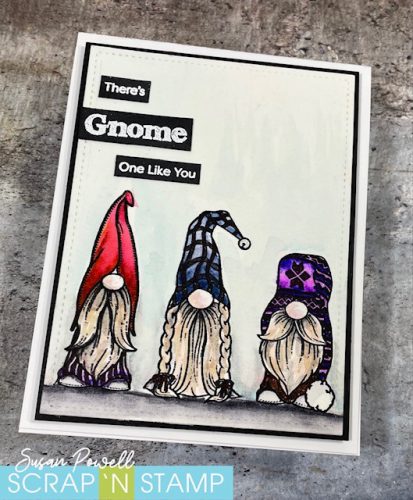
Once I colored in all the gnomes I used a dark and light gray to add some shading to the bottom. I used a light blue to add a little color to the background ( I scribbled the marker onto a block, spritzed it with some water and blended it onto the panel with a paint brush. I added a light gray around lower portion of the gnomes the same way I added the light blue.
Happy Stampin’
and thanks so much for visiting!
Stay safe everyone!!
Susan
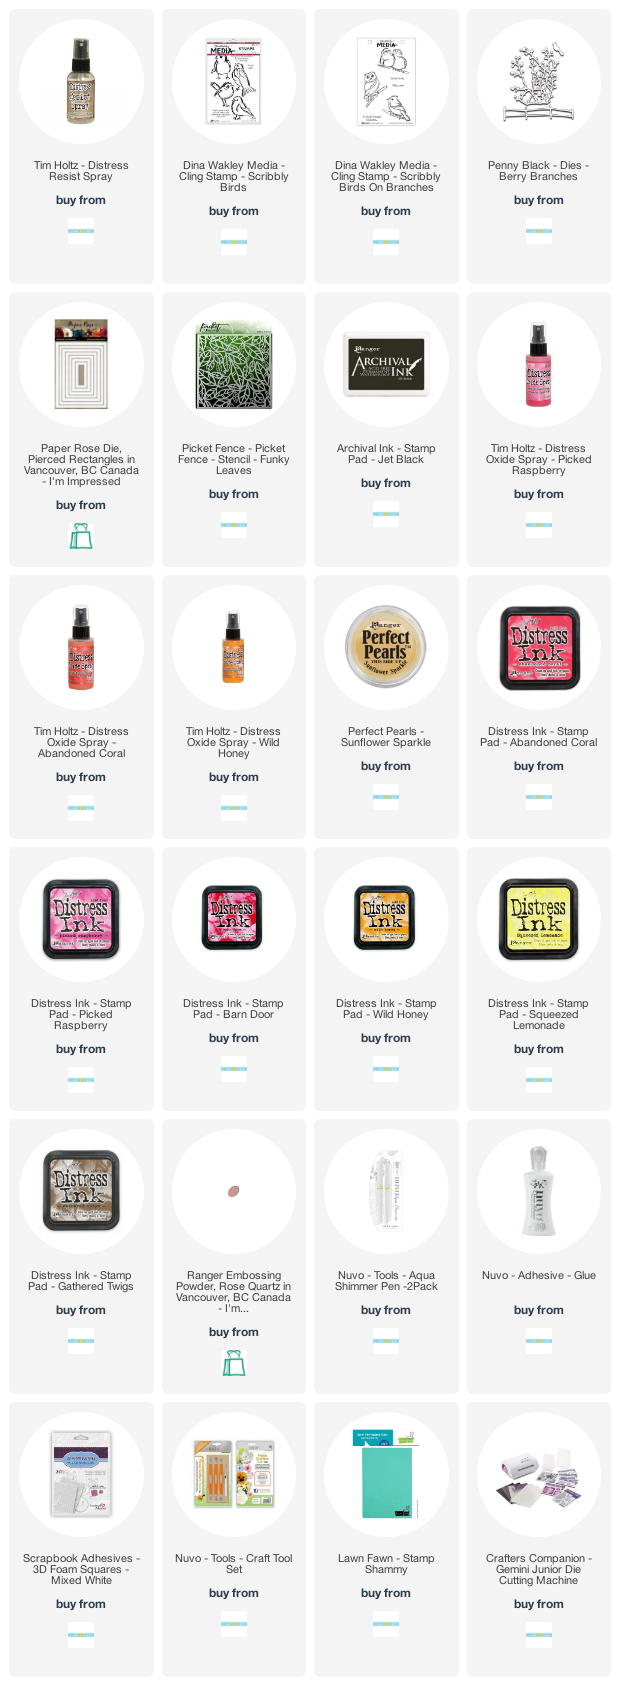
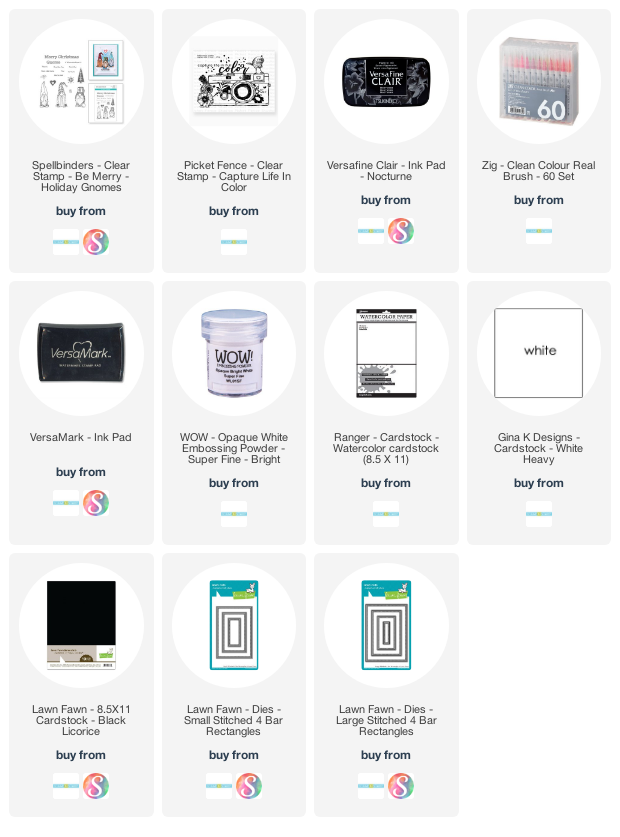
SUPPLIES
If you’re interested in purchasing any of the supplies I’ve used I’ve listed them below. I use compensated affiliate links which means if you make a purchase after clicking one of my links below I will earn a small commission at no additional cost to you.
Thank you! I truly do appreciate your support!
HAVING FUN WITH ZIGS Read More »