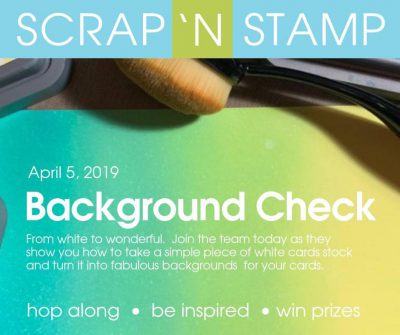
Tuesday with Tara {take 172}
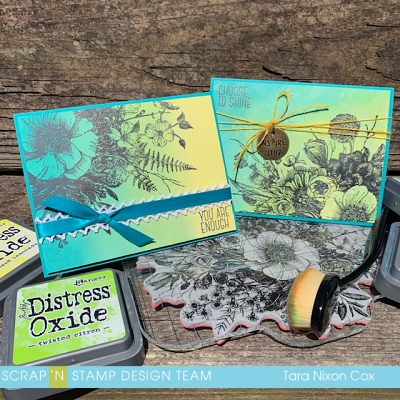
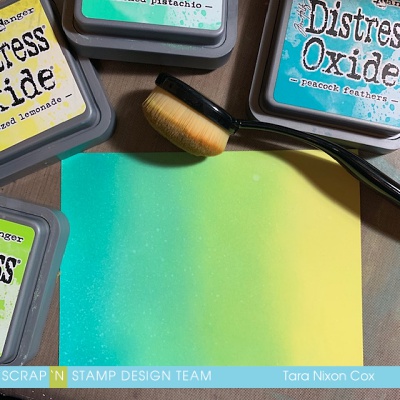
Happy Tuesday! I hope you all have had as much fun with our latest blog hop as I have, and I can’t wait to see the response we will get to our new challenge! I’ve got a second card with the challenge theme (Purple, Orange & Green- not just for Halloween) to share with you today. I made several backgrounds with the same three colors of Distress Oxide ink colors (wilted violet, spiced marmalade, twisted citron) as I was preparing for this so naturally had to turn at least two of them into cards…
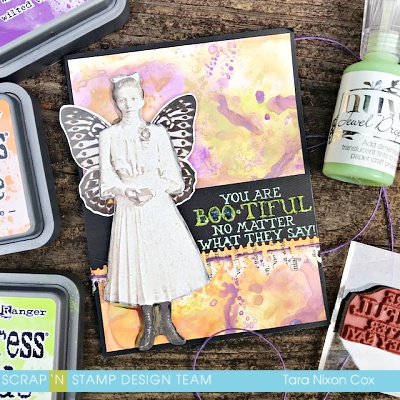
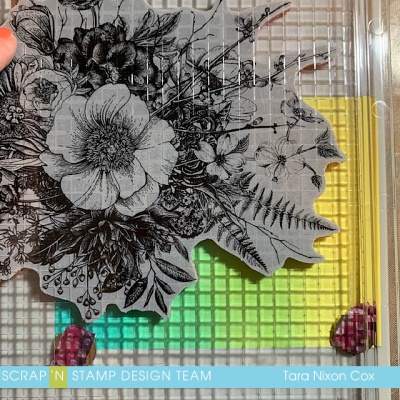
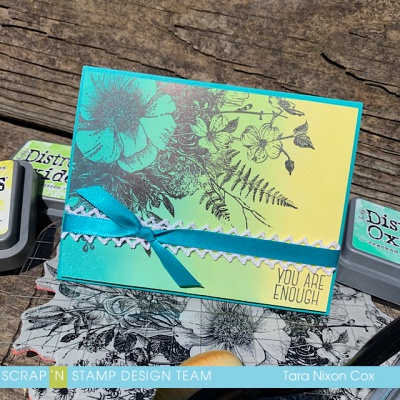
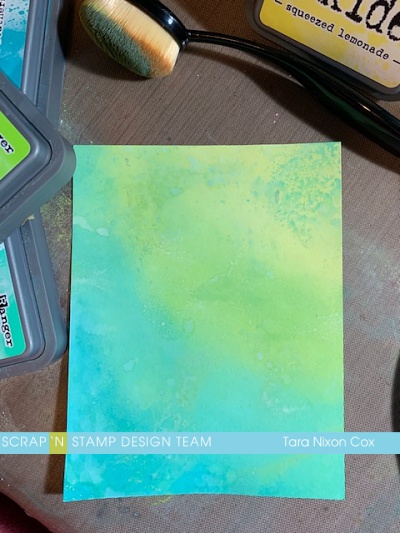
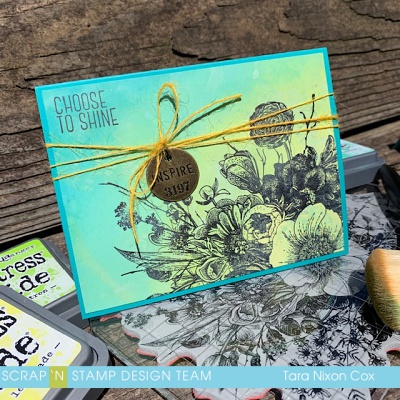
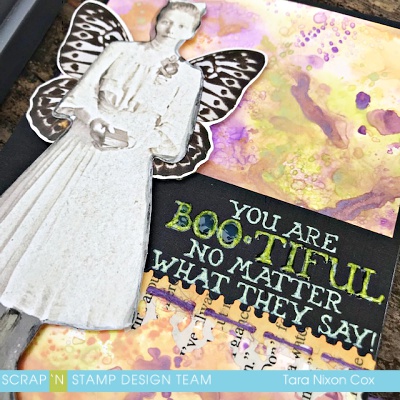
This background was created on glossy Alcohol Ink card stock, then finished with a light cover of Distress Micro Glaze, which brings the gloss back out and reveals all the layers of color. Prior to glazing, you have a very muted background. I found using a sponge made my glaze a bit too thick, so I applied a small amount with my finger and buffed it over the surface with a cotton rag. I selected a paper doll from Tim Holtz Ancestors embellishments (I think this was in the ‘halloween’ themed release, but can’t be sure since mine are all stored together!) and added some butterfly wings (from the botanical ephemera pack). I wanted to pair her with this cute sentiment I picked up, by Impression Obsession. I rarely purchase Halloween stamps myself, but thought this one would work with a variety of images 🙂 It was stamped in Twisted Citron Distress Oxide ink.
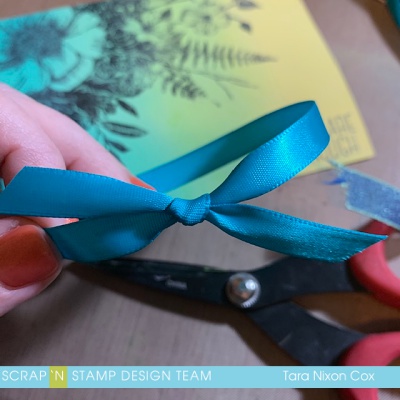
I highlighted the word “BOO-TIFUL” in my sentiment by tracing over it with Nuvo Jewel Drops in Key Lime. I needed a little something to finish off my card, and remembered these lace borders by Tim Holtz. Mine are ‘vintage’ strip dies from before he started making thinlets, but this lace design has been re-imagined as a thinlet and looks like it’s even better now! I cut it from book print, inked the top edge with spiced marmalade and threaded some thin purple jute through the holes. Normally I like to trim a clean edge on a card front, but since this was so delicate and had jute through it, I wrapped it around the back and inside front of the card slightly to give a stronger finish.
It’s a simple card, but I hope you enjoy the mix of elements with the background colors & textures! And I hope you’ll join us with our #SNSpurpleorangegreen challenge on facebook as well 🙂 Remember, you’ve got until Nov. 1 to play along with our challenge and have a chance to win a $50 gift certificate to the SNS online store! Woo!
I hope you’re having a great week! I can’t wait to see what you create…
Inky hugs,
Tara
Tuesday with Tara {take 172} Read More »
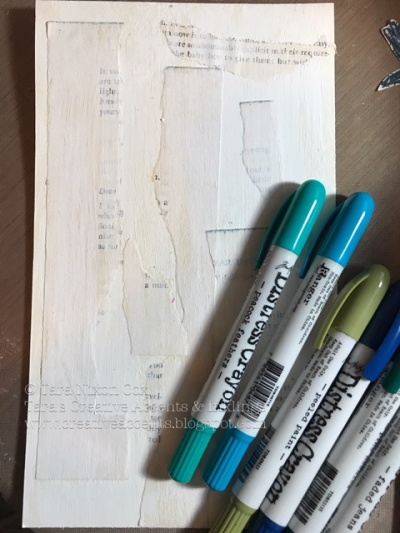
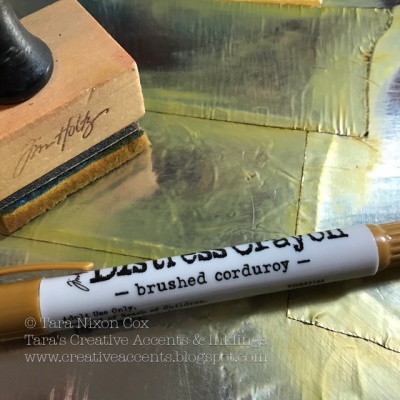
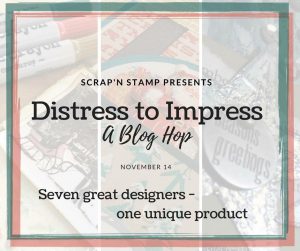 Happy Tuesday! Today we’ve got another fun blog hop, this one we are calling ‘Distress to Impress’ because all of our projects feature Tim Holtz’s Distress Crayons! We will be sharing with you some fun ideas for these great coloring tools… and maybe you’ll even WIN a new set by leaving comments on all the blogs along the way! You can also get yourself some
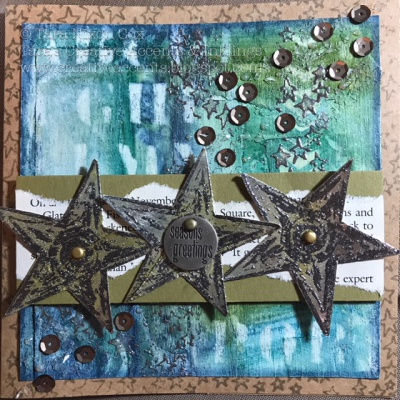
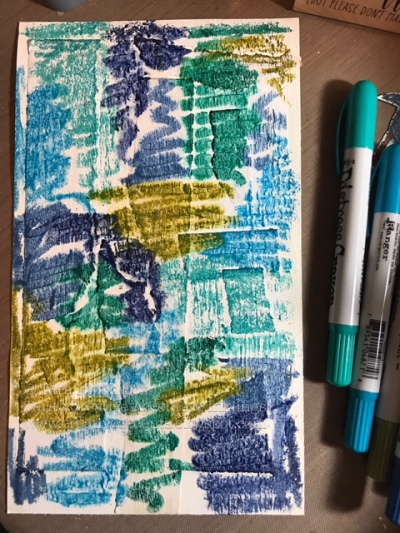

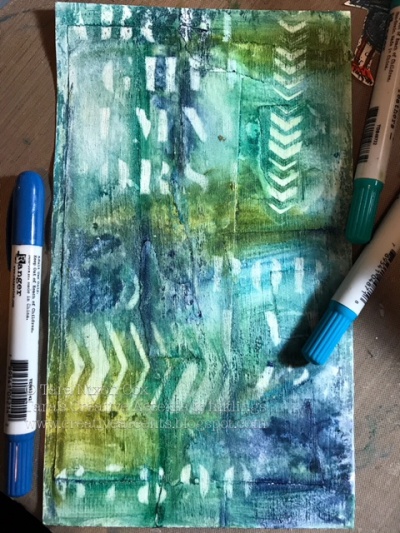 I trimmed the background to fit on a square card and used one of the crayons along the edges of the piece to finish it off, again just blending with my fingers. I think the finger blending worked so well because of the gesso underneath. Love it!
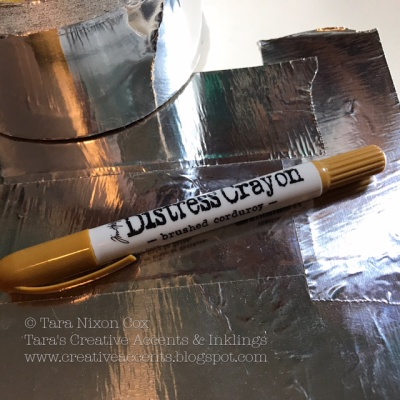


 -Spellbinders Shapeabilites Pendants In Spades